Step by step instructions.
Their vibrant blooms bring the outdoors to life, adding a touch of elegance and charm to your outdoor space. Amaryllises are versatile, thriving in pots, making them perfect for patios. With minimal care, they’ll flourish, creating a captivating display that enhances your outdoor oasis.
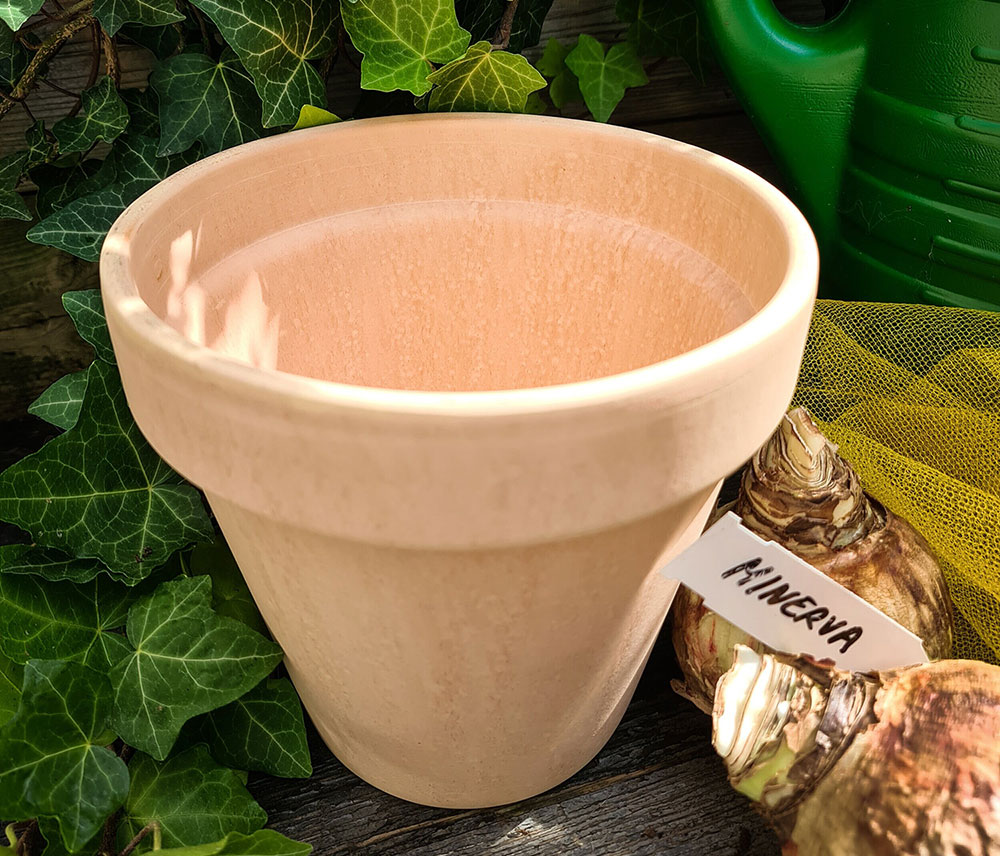
Step 1: Choose a container
We recommend a good sized pot for planting your Amaryllis so you can keep about 2 inches of room on the sides. The container may be clay, ceramic or plastic, but should have drainage holes in the bottom!

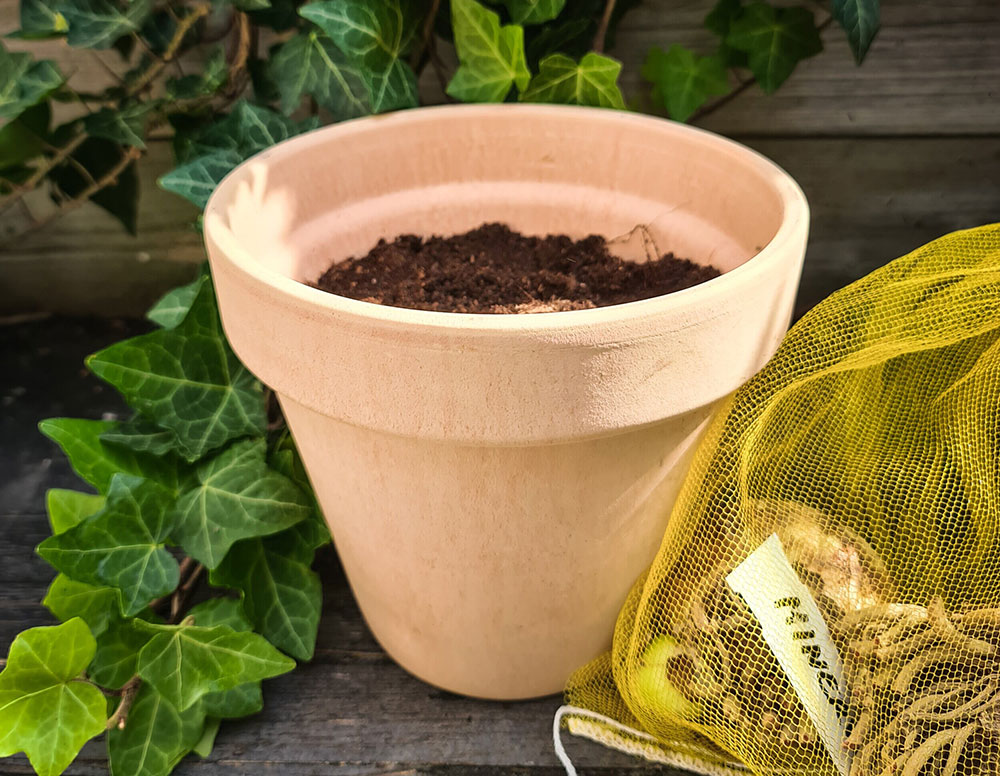
Step 2: Add soil to container
Fill the container halfway with damp potting mix. Don’t pack down the soil as you go. Only filling halfway makes it easier to place the bulb at the right height.

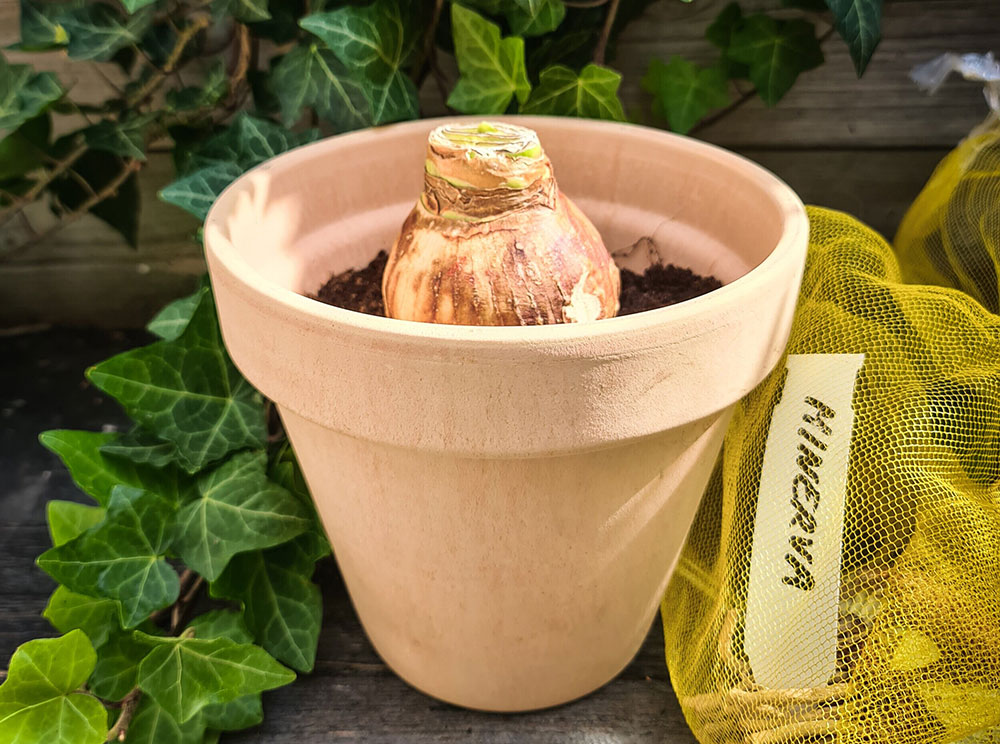
Step 3: Place the Amaryllis bulb
Center the bulb in the middle of the pot. Then add additional potting mix, firming it around the roots and bulb.
The bulbs should feel firm and have plenty of room for the roots at the base. Leave the top third of the bulb uncovered. Tamp down the soil around the bulb with your hands to settle the potting mix.

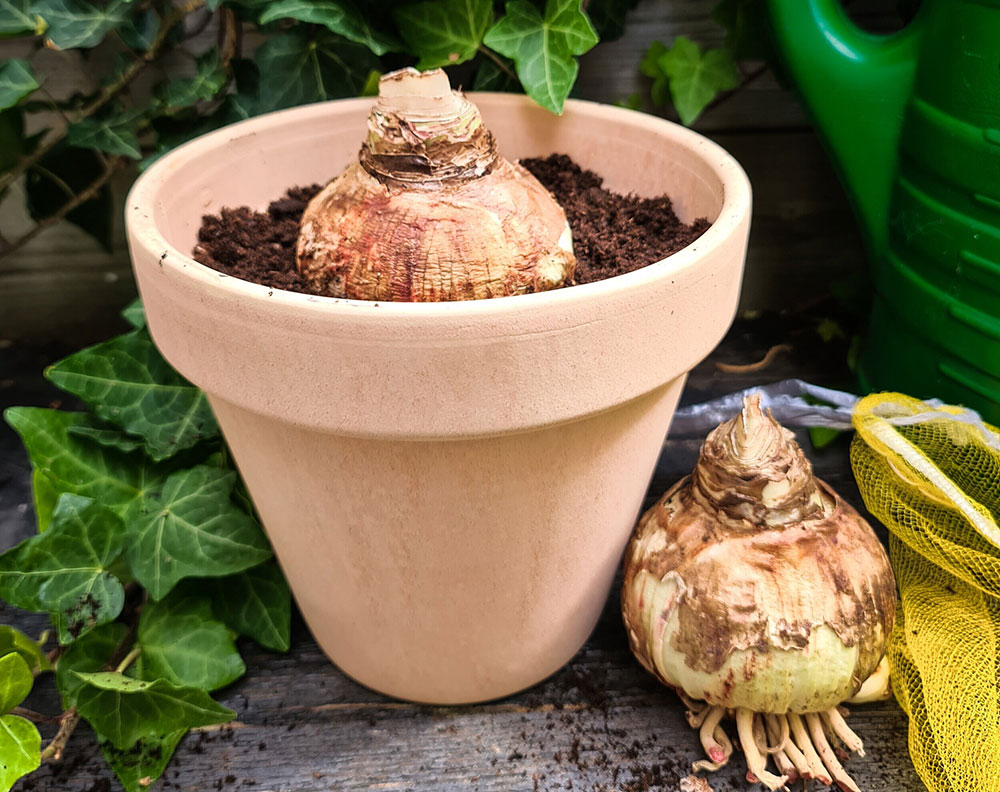
Step 4: Fill in around the bulb
Add more potting mix, but leave the top third of the bulb uncovered. Tamp down the soil around the bulb with your hands to settle the potting mix.
Little watering is necessary until the bud and stem appears, then you’ll need to water more often. Adding a small amount of water about once a week is more than enough. Care should be taken not to over-water and not to wet the exposed top of the bulb.

The amaryllis will bloom in 6 to 8 weeks after being moved into a bright room with indirect light. Some can take as long as ten weeks (they are worth the waiting!)
Tip: If you have more than one Amaryllis, label so you’ll remember the variety name!
