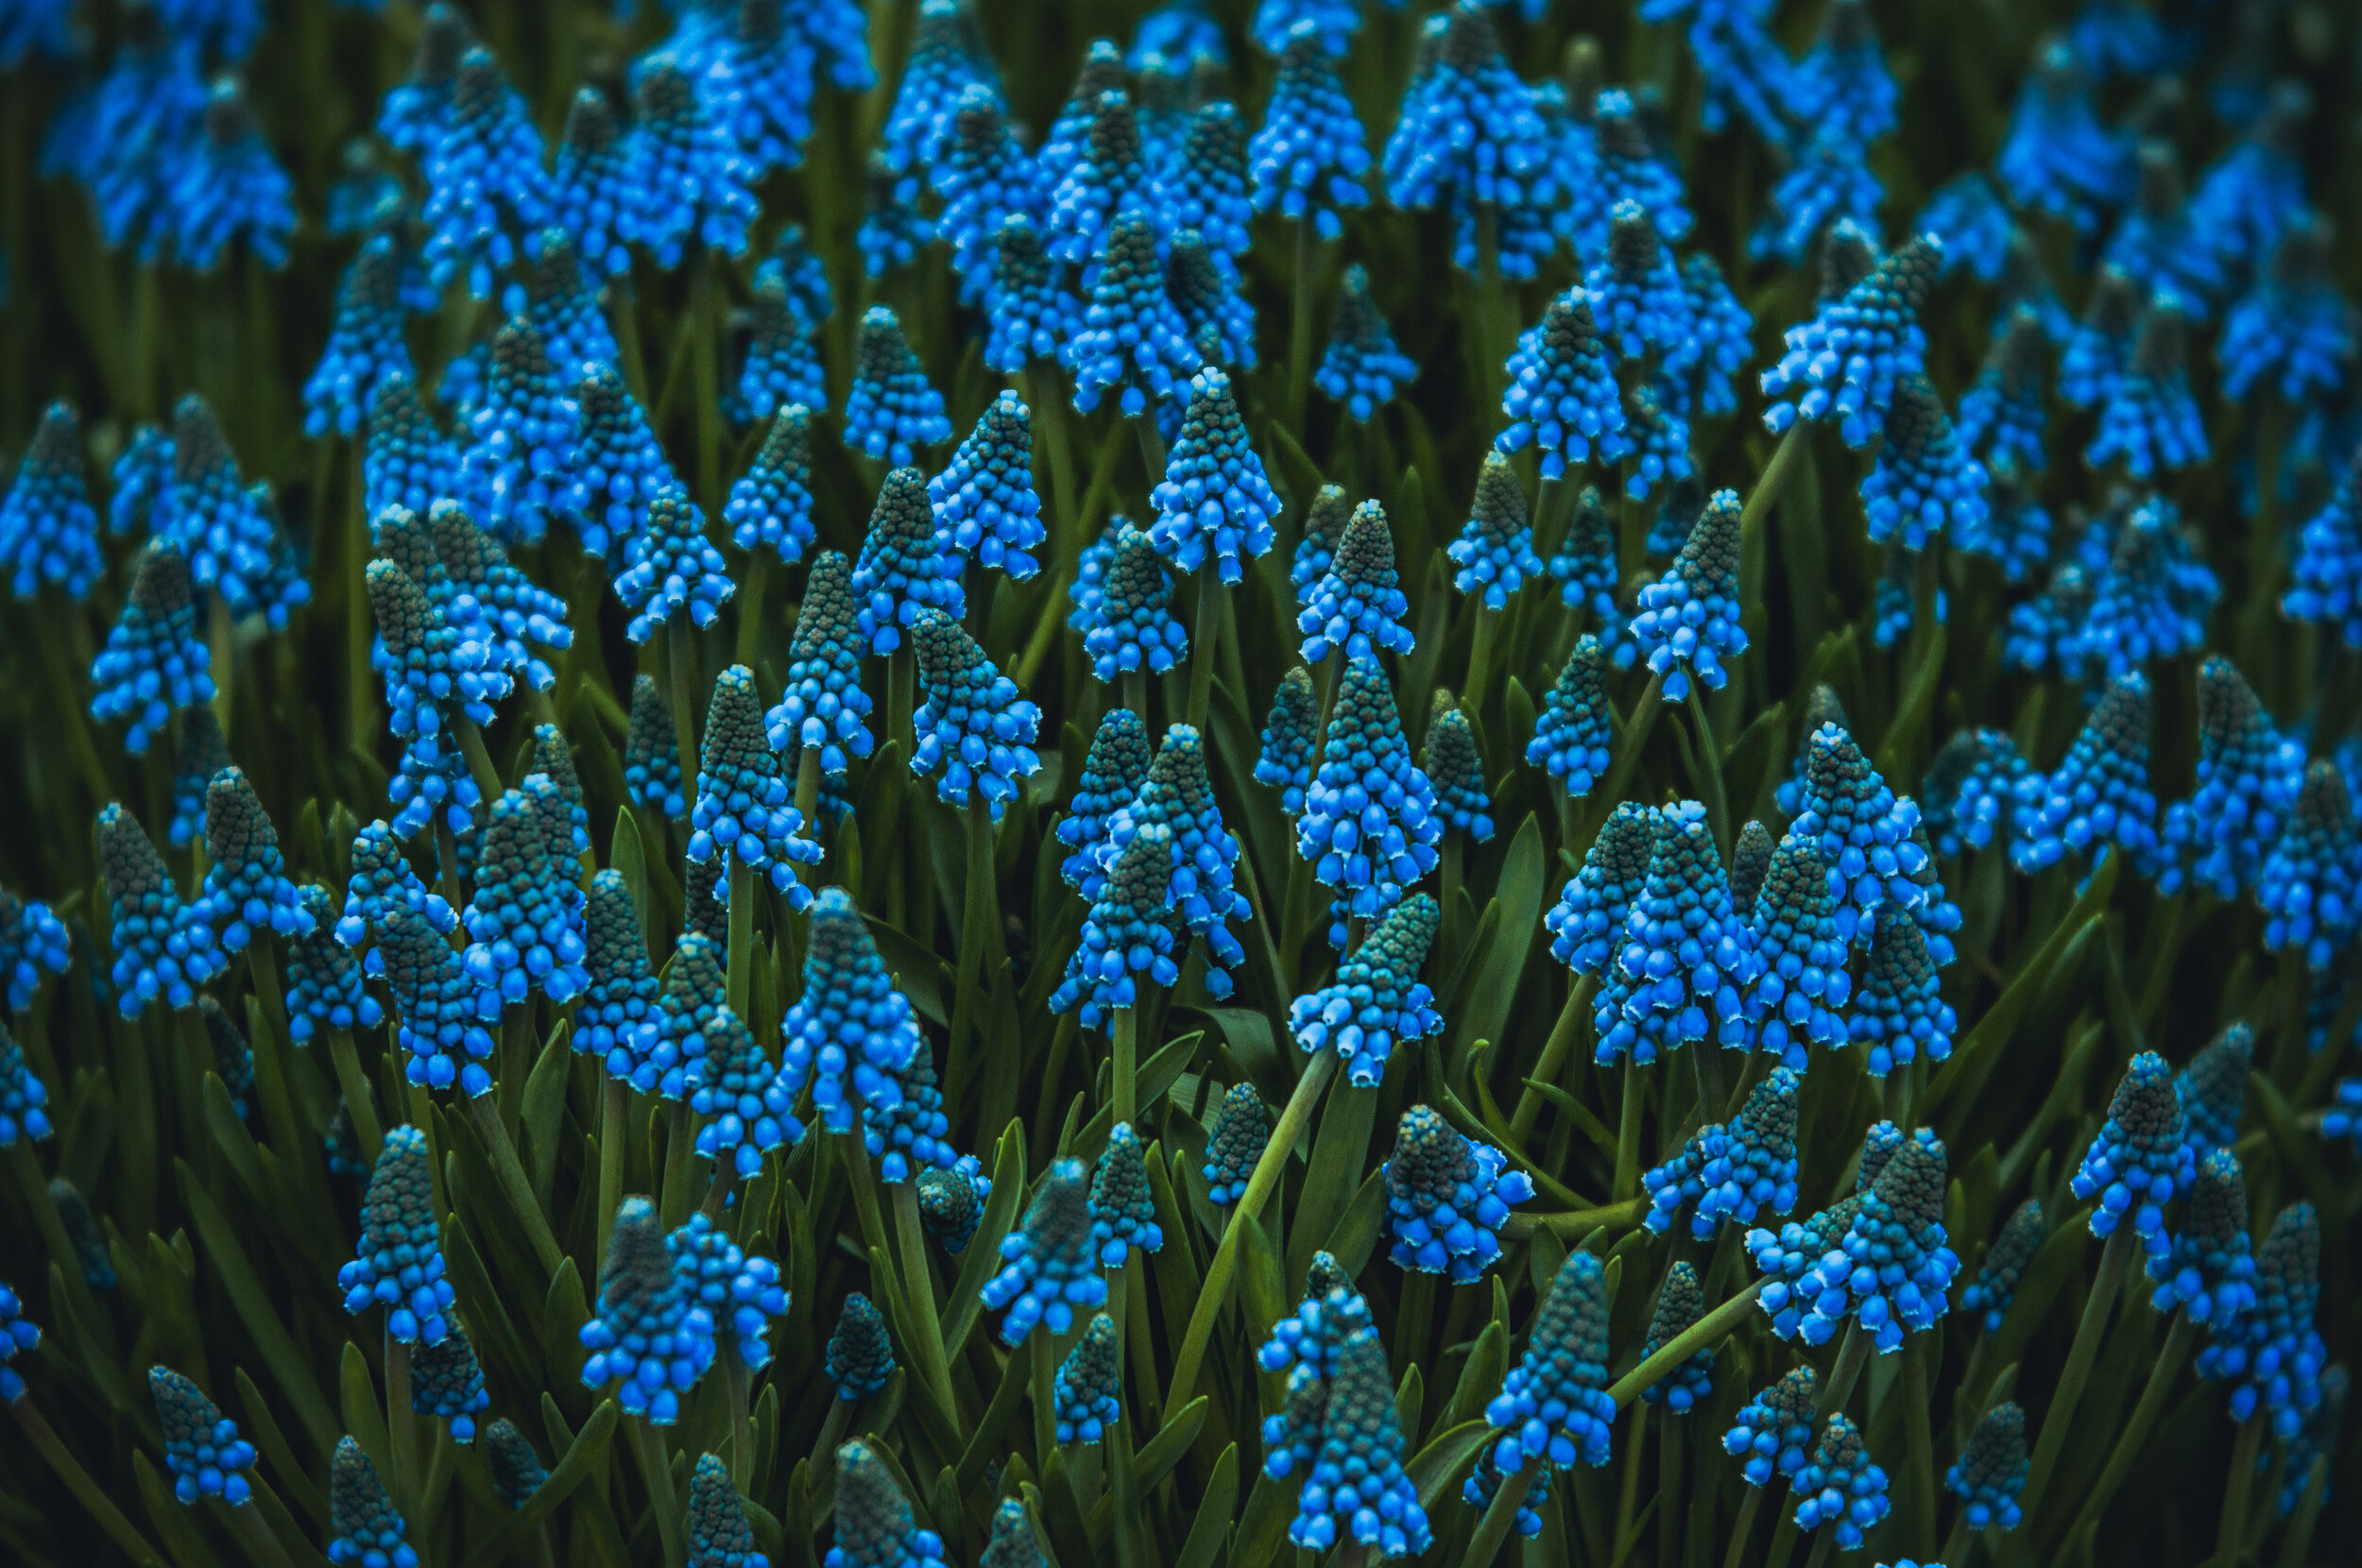
Hydroponic Muscari | FAQ
This product is currently only available through supermarkets / retailers only.
Below you will find a list of commonly asked questions and answers about Hydroponic Muscari.


+ Can I regrow the bulbs?
Please keep in mind that our growers use a complicated process over the course of weeks to prepare the bulbs so they can thrive hydroponically. When it comes to putting the bulbs back in the vase during the season, we cannot guarantee success.
The bulbs are alive and sensitive to abrupt changes in their environment, switching them over to another is a delicate process.
Before attempting to force spring flowering bulbs for hydroponic growth yourself, it is recommended to let the bulbs recover in soil, since they're depleted from having bloomed once.
Please find the instructions to let the bulbs recover in soil below.
+ What should I do after flowering?
Step 1. After the flowers have died, allow the foliage to turn yellow and wither. The leaves will continue to gather sunlight and store energy for next year’s blooms. Leave the roots, they will dry off on their own. Cutting them while they are alive is traumatic for the bulbs.
Step 2. Once the foliage the foliage has turned yellow and wither, you may be remove it by gently pulling it out. If the leaves do not easily pull away from the bulb, they are not ready to be removed.
Your bulbs are now dormant and ready to “rest” until next season.
Step 3. Plant them in fall. They will form roots in fall and bloom in early to mid-spring.
Step 4. They are durable and will grow in most locations but prefers cool moist soil. However like many other bulbs it prefers well drained soil and do not like having wet feet.
Step 5. They grow best when planted in partial sun, but are tolerant of full sun.
Step 6. Thoroughly soak the area with water once all the bulbs are planted. Water as needed while the plants are growing and blooming.
For optimum growth, the growth season can be found according to your zone.
+ Where can I find my planting zone?
Find your planting zone here: USDA Plant Hardiness Zone Map
+ Can I plant the bulbs in a container?
Step 1. After the flowers have died, allow the foliage to yellow and die back. The leaves will continue to gather sunlight and store energy for next year’s blooms.
Step 2. Once the foliage has yellowed and dried, the foliage may be removed by gently pulling it out. If the leaves do not easily pull away from the bulb, they are not ready to be removed. Your bulbs are now dormant and ready to “rest” until next season.
Step 3. Choose containers that have good drainage holes, easy to move around and will not be sensitive to freezing temperatures.
Step 4. Fill containers with good quality, well-drained soil. Just as when planted in the ground make sure the bulbs do not sit wet. Adequate drainage holes are a must.
Step 5. Place containers in a location where they will receive partial to full sun.
Step 6. Space the bulbs close together, just as long as they are not touching each other or the sides of the container.
Step 7. Plant the bulbs approximately 2-3” deep. With the flattest side down. If you cannot determine which side is the flattest, the bulb will naturally turn itself around towards the light.
Step 8. Thoroughly soak the container with water once all the bulbs have been planted. Water as needed while the plant is growing and blooming.
Step 9. The bulbs need a “cool period”. But take care, they will not survive if frozen. Therefore, if you live in an area where winters are severe and the ground freezes, the container needs to be moved into a cool place that does not receive frost, such as a garage or cool basement. If the container is too large or heavy to move inside, bubble wrap or burlap can be used to protect the pot from freezing.
Step 10. As the weather begins to warm up, monitor the pot for signs of sprouts. Once the sprouts start showing, gradually expose the pot to a sunny patio or lawn area. If you left the container outdoors and wrapped it for protection, remove this protection now.
+ I live in a warm climate. What should I do?
Step 1. If you are located in an area which does not get cool enough winters (zones 8b and further south, see link below to find your plant hardiness zone) or would like Muscari blooming indoors late winter follow these instructions. The bulbs will need to be in the following environment for 10-16 weeks:
Step 2. You will need an artificially cool environment such as a refrigerator or chilled cellar. Take care not to place the bulbs near apples or other fruits that produce ethylene gases as this will cause the bulbs to rot.
Step 3. Choose pots that store easily and are easy to move. 6-8” plastic bulb pans work the best. Fill the containers with a good quality well-draining soil. Make sure the containers have adequate drain holes, this is a must.
Step 4. Space the bulbs close together, just as long as they are not touching each other or the sides of the container. The plants should be planted just deep enough that the tips of them are showing through the soil.
Step 5. Water the container well after planting. Keep the soil slightly moist during the cool period, but not wet as this could encourage the bulbs to rot. After you have watered the container you may move it to the refrigerator or chill cellar.
Step 6. Once 10-16 weeks has passed and you start to see tender shoots forming, you can gradually expose the bulbs to sunlight and warmer temperatures. Keeping the bulbs in a cool 68 degree room in your home is ideal while they are blooming.
After flowering, allow the foliage to yellow and dry before removing it.
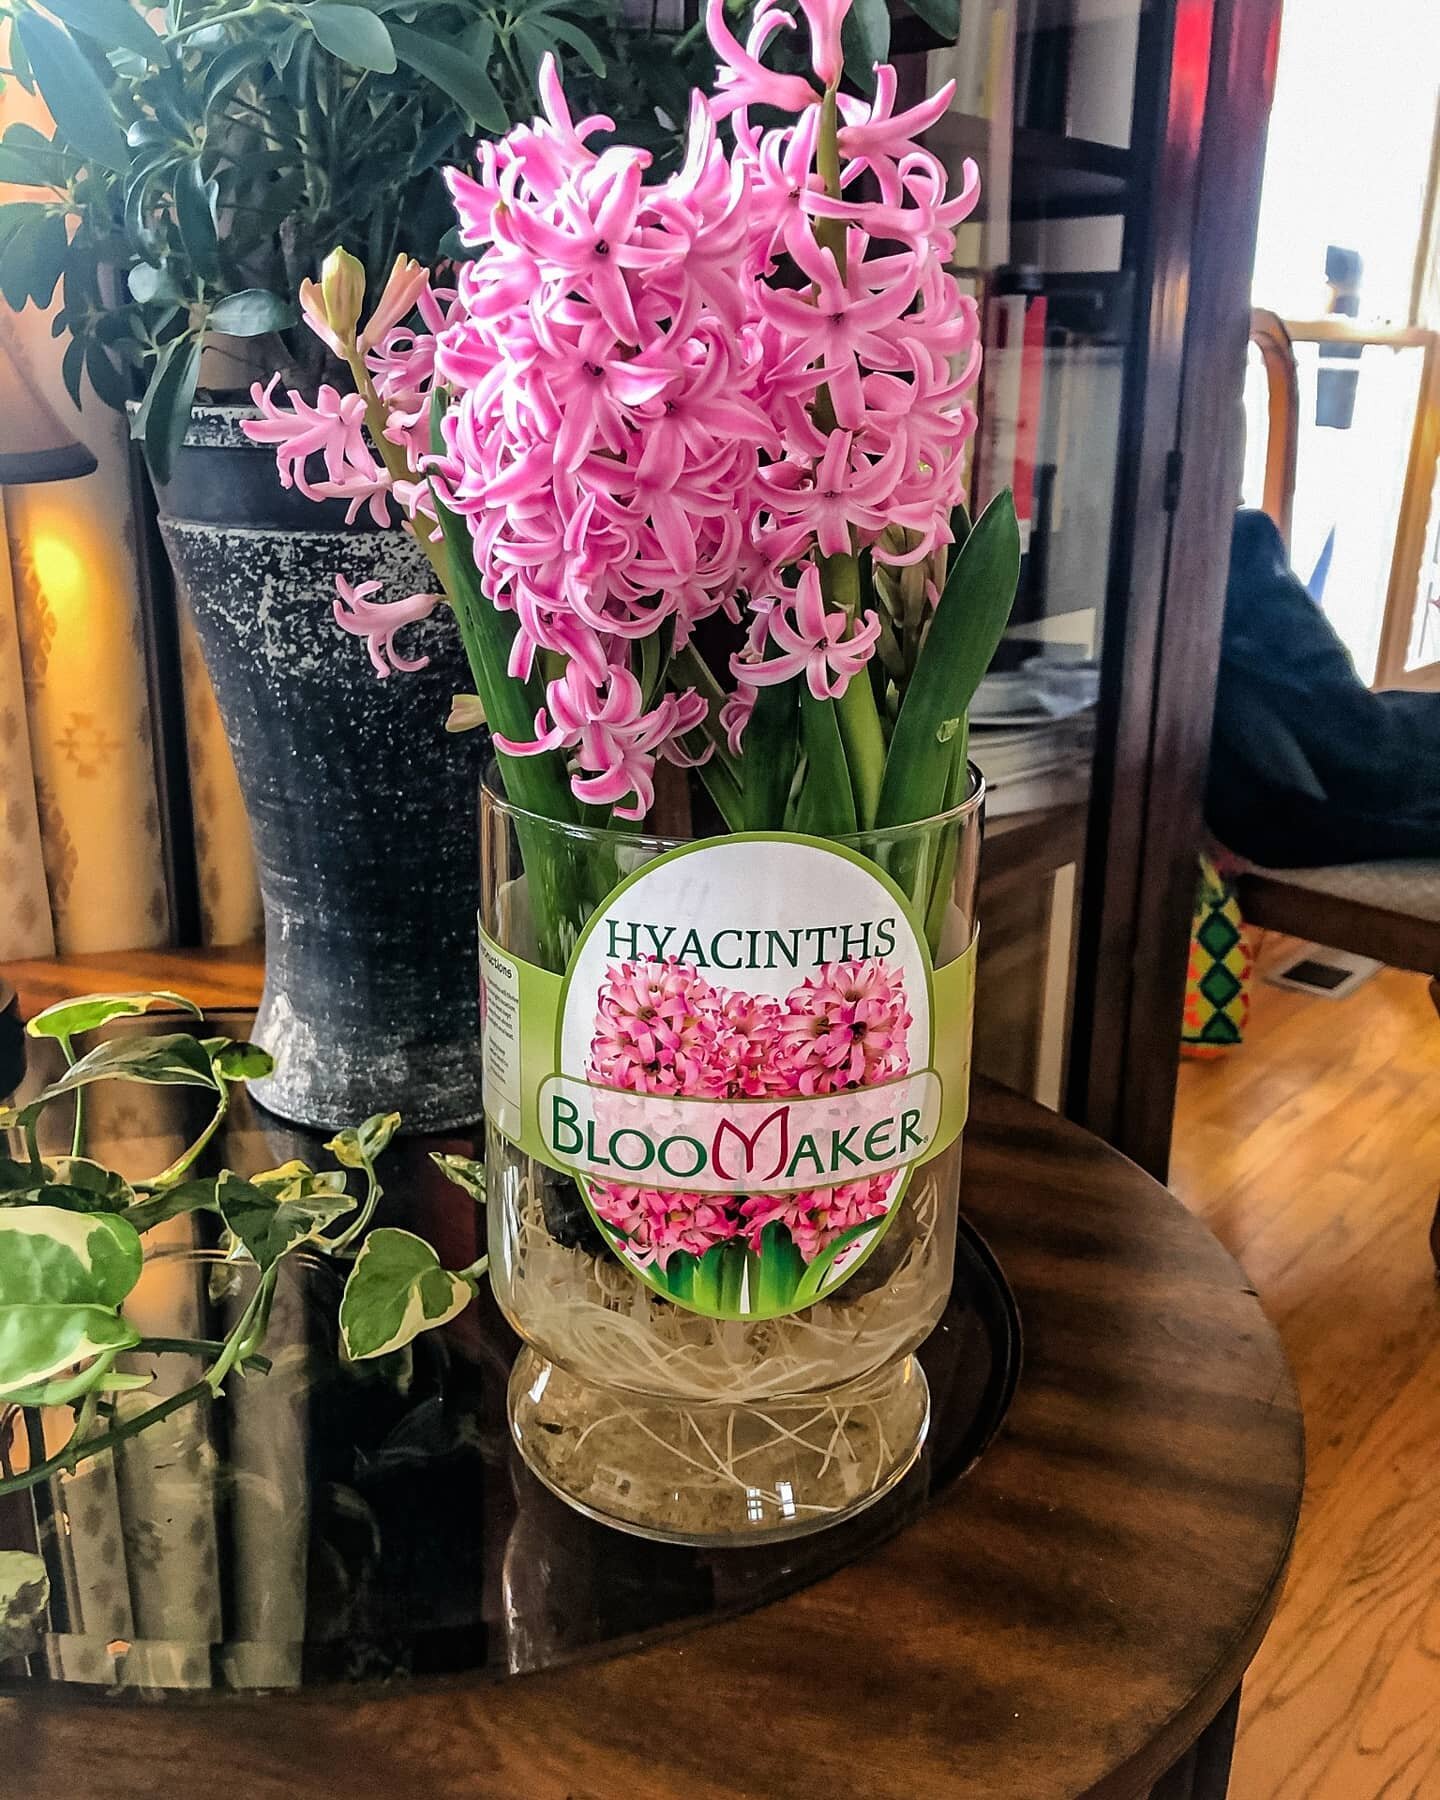
+ What should I do with my Bloomaker vase?
Bloomaker vases are great for crafting. You’ll find some great photos that have been sent to us in our Gallery!
Made something already? Share your creation with us. We might feature your photo on our website!
Share your photos in DM on Instagram & Facebook or by using the hashtag #bloomaker and tagging us @bloomaker
I cannot find my question. How do I proceed?
If the answer to your question is not on the FAQ pages, click the Message button in the right bottom corner of the page and type your question.